Introduction: Why Avoiding Fabric Printing Mistakes Matters
Custom fabric printing can be a dream come true for designers, small brands, and creators. But that dream can quickly turn into frustration if your final fabric looks blurry, off-color, or misaligned.
Whether you’re printing for apparel, décor, or branding, avoiding common fabric printing errors can save you time, money, and materials. Let’s walk through the top 10 fabric printing mistakes—and how you can prevent them with simple, smart steps.
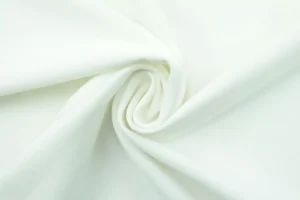
1. Ignoring Fabric Type Before Printing
Not all fabrics behave the same during printing. Cotton absorbs color differently from polyester, and silk reacts differently to heat. Choosing the wrong fabric type can lead to poor color saturation or blurry edges.
👉 Before printing, check out your options at Our Fabrics. Make sure the fabric matches your design goals—softness, texture, durability, and ink compatibility all matter.
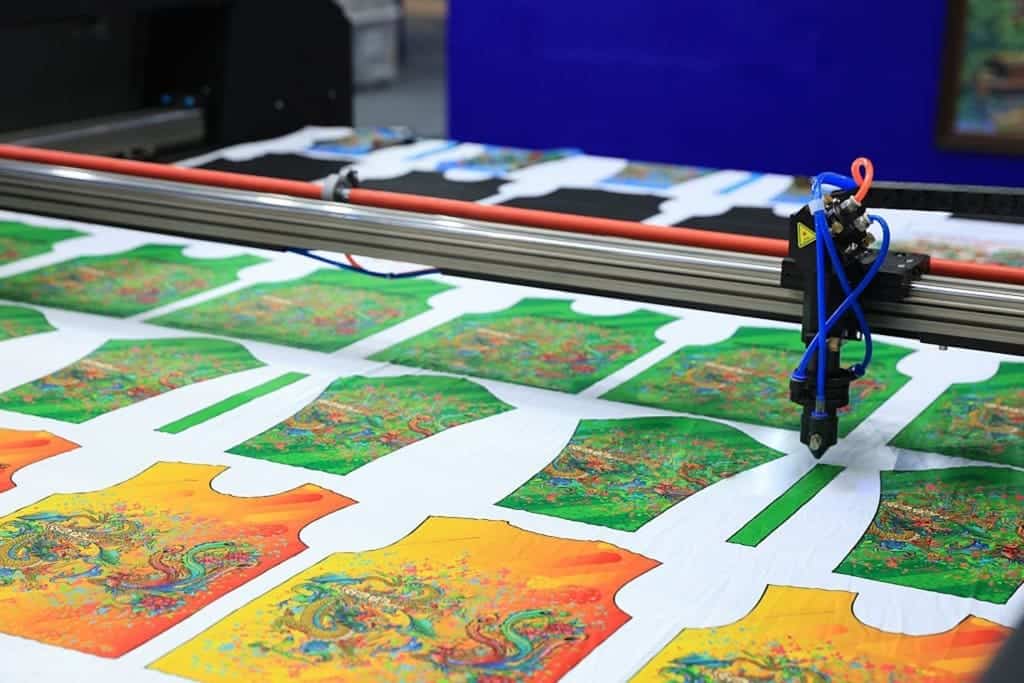
2. Using Low-Resolution or Wrong File Format
One of the most common fabric printing mistakes is uploading a low-resolution or compressed image.
Always use at least 300 DPI images, and export your files as TIFF or PNG to retain clarity. Avoid over-compressed JPEGs.
💡 Pro tip: Tools like Canva’s design quality guide can help ensure your images are print-ready.
Learn how to prepare your design files step-by-step at Design Your Fabric.
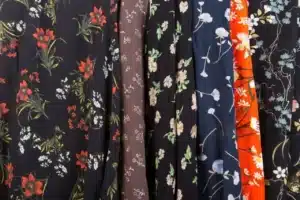
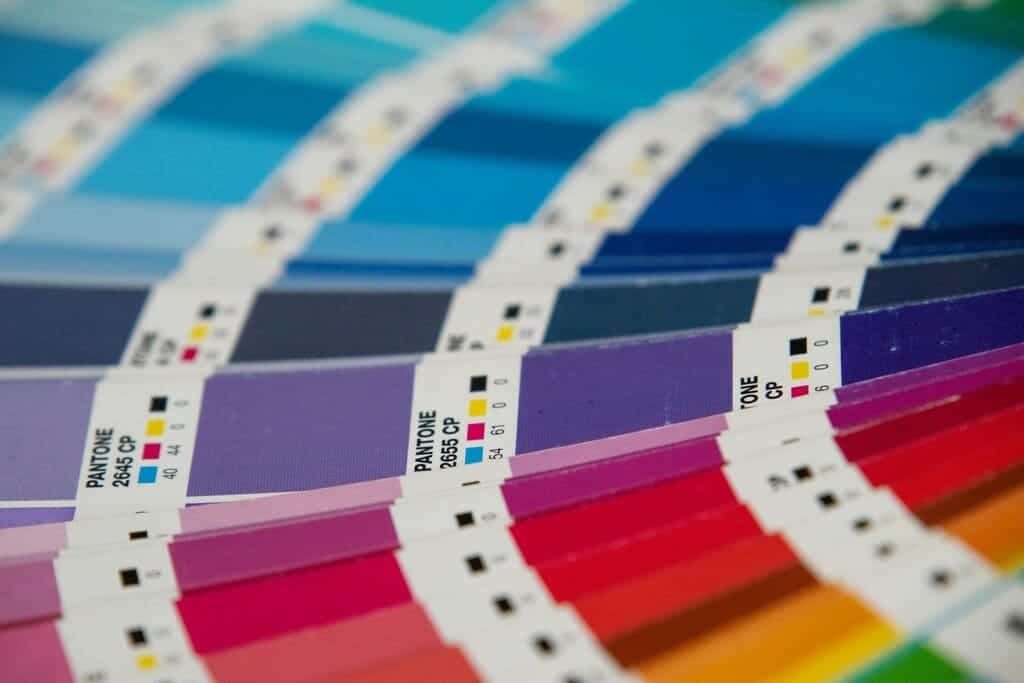
3. Forgetting to Convert Colors (RGB vs CMYK)
Many beginners design in RGB, which is great for screens—but disastrous for print. Printers use CMYK color models, so your vibrant turquoise may turn dull or dark when printed.
To prevent this, always convert your design to CMYK before submission and use Pantone color references (pantone.com) for accurate color matching.
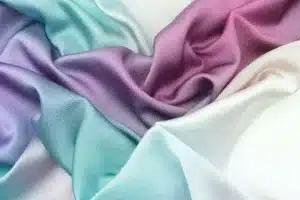
4. Skipping Fabric Swatch Testing
You might be tempted to go straight to full production, but skipping a swatch test can be an expensive mistake.
Different fabrics and printers can slightly alter colors. Always order fabric swatches first to preview the exact results before you commit.
👉 Try it yourself at Order Swatches.
5. Forgetting Seam Allowances and Bleed
Designers often forget to include extra space for seams or cutting lines. This leads to cropped logos or missing design elements.
When setting up your file, always include at least ½ inch (1.3 cm) of bleed on all sides.
💡 Tip: Create grid guidelines in your design software (like Adobe Color) to visualize safe zones.
6. Ignoring Fabric Shrinkage
Some fabrics—especially natural fibers like cotton or linen—shrink after printing or the first wash.
Always pre-wash your fabric or include a shrink allowance (about 3–5%) in your design dimensions. This ensures the printed pattern stays aligned and accurate.
7. Using Low-Quality Images or Stock Art
A beautiful fabric print starts with a crisp, clear image. Low-quality graphics or screenshots can ruin an otherwise great idea.
Use high-resolution vector graphics (AI, EPS, or SVG) when possible. If you use photos, make sure they’re licensed and sharp.
8. Overlooking Environmental Conditions
Temperature and humidity can affect ink absorption and drying. If your workspace is too humid or dusty, colors might not bond properly to the fabric.
Professional printing environments—like ours—control humidity and temperature to maintain color consistency.
9. Poor Communication with Your Printer
Misunderstandings lead to production errors. Always confirm file size, repeat patterns, color expectations, and deadlines before printing.
At JCW Textile, we make this easy. You can get a quote and discuss all details with our team before production begins.
10. Not Reviewing the Final Proof
The final proof is your last chance to catch errors. Many designers skip it and regret it later when their bulk fabric arrives with color mismatches or alignment issues.
Always review your digital or printed proof carefully and sign off only when you’re satisfied.
Bonus Tips for Perfect Fabric Prints
✅ Use consistent file names and label color versions clearly.
✅ Store your print-ready files in CMYK format.
✅ Keep a log of your successful print settings for future reference.
✅ When in doubt, consult a professional or start with a small test run.
Ready to bring your fabric design to life? Design Your Fabric and make your next project mistake-free!
Conclusion
Avoiding these common fabric printing errors doesn’t require expert-level skills—just a bit of preparation and attention to detail. With the right fabric, proper file setup, and a clear communication process, your prints will turn out sharp, vibrant, and professional every time.
🎨 Start your next project confidently—design your fabric with JCW Textile today!
We’re here to help you bring your ideas to life, one print at a time. Visit jcwtextile.com to get started.
📚 FAQs: Fabric Printing Mistakes
Q1: What are the most common fabric printing mistakes beginners make?
Low-resolution files, skipping swatch tests, and forgetting color conversion are the top culprits.
Q2: What file format is best for fabric printing?
Use high-quality TIFF or PNG files in CMYK mode for best results.
Q3: Should I always order a fabric swatch before bulk printing?
Yes! It’s the best way to verify colors and material compatibility before full production.